Managing Your Favorites and Lists
PixoProof Academy: How to Create More Than One Selection List in a PixoProof Gallery
The Favorites tab is where you review the photos you have picked, sort them into lists, leave notes for your photographer, and get ready to submit. This guide covers the Favorites tab in the web gallery in detail. For a quick overview of the whole selection process, see How to Select Your Photos.
The Favorites tab only appears when your photographer allows favourites in your gallery.
Opening the Favorites Tab
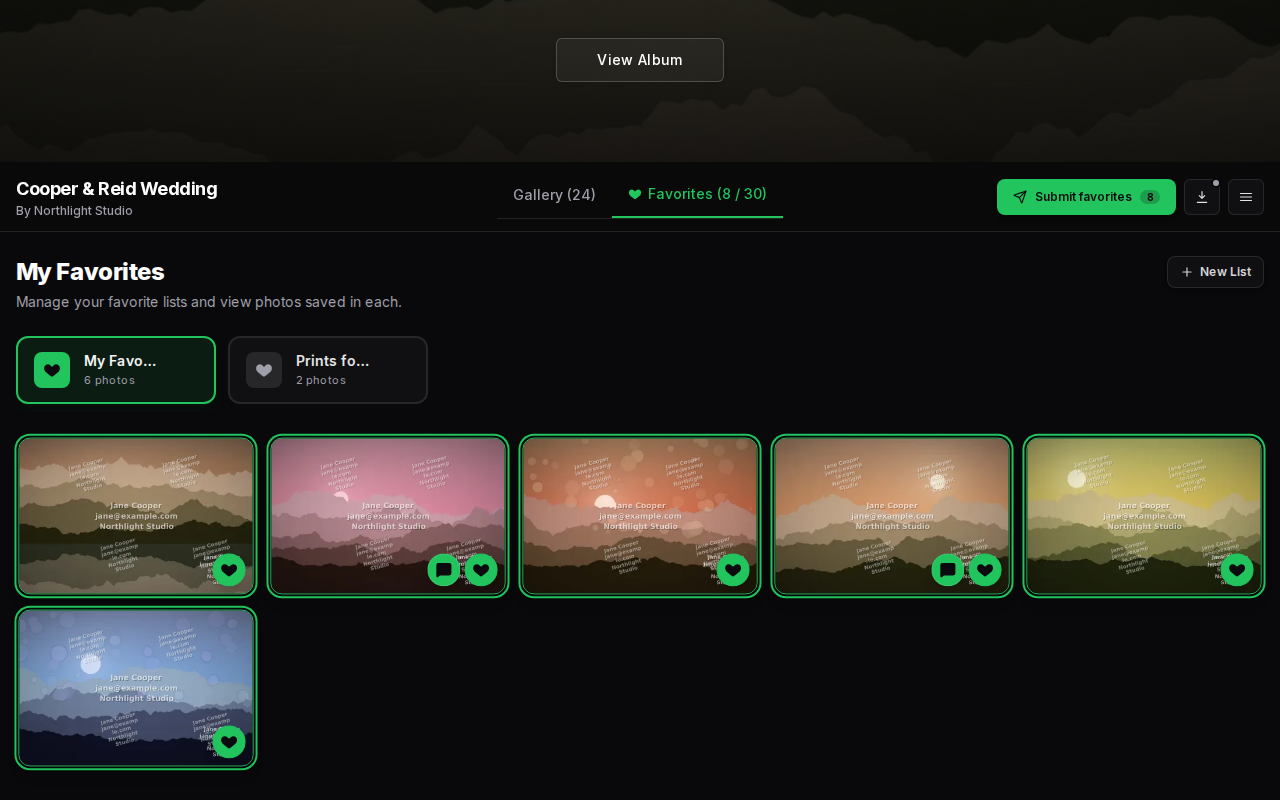
Click Favorites in the bar at the top of the gallery. The tab shows a heart and your running count, for example Favorites (12), or Favorites (12 / 30) if your photographer set a selection limit.
At the top of the tab you will see the My Favorites heading, a New List button, and a card for each of your lists. Below the cards are the photos in the list you have selected.
If the list you are looking at is empty, you will see No favorite photos with a reminder to tap the heart on any photo to add it.
Your Lists
Every gallery starts with one list called My Favorites. You can add more lists to group your picks however you like, for example by outfit, location, or who the photos are for.
Each list card shows the list name, how many photos are in it, and a coloured heart. Each list has its own colour, and the hearts and borders on your favourite photos take on the colour of the list they belong to, so you can see at a glance which list a photo is in.
Click a list card to show that list's photos. The highlighted card is your current list.
New favourites go into your current list. When you click a heart anywhere in the gallery, the photo is added to whichever list is currently highlighted on the Favorites tab, which is My Favorites unless you have picked another.
Creating a List
- On the Favorites tab, click New List.
- Type a name in the Enter list name box.
- Click Create (or press Enter). Click Cancel to change your mind.
The new list becomes your current list straight away. Each list needs a different name. If you pick a name you have already used, you'll see A favorite list with this name already exists.
Renaming a List
- Move your mouse over the list card and click the ⋯ button that appears.
- Click Rename.
- Type the new name in the New name box and click Save.
Deleting a List
- Move your mouse over the list card and click the ⋯ button.
- Click Delete.
- Confirm by clicking Delete in the window that asks Delete "[list name]"?
Deleting a list cannot be undone, and all photos in that list are removed from your favourites. The My Favorites list can be renamed but not deleted.
Moving a Photo to Another List
- Press and hold a photo for about half a second. This works on any tab, not just Favorites.
- A Move to list menu appears, listing all of your lists. The list the photo is in now shows a coloured heart.
- Click the list you want to move the photo to.
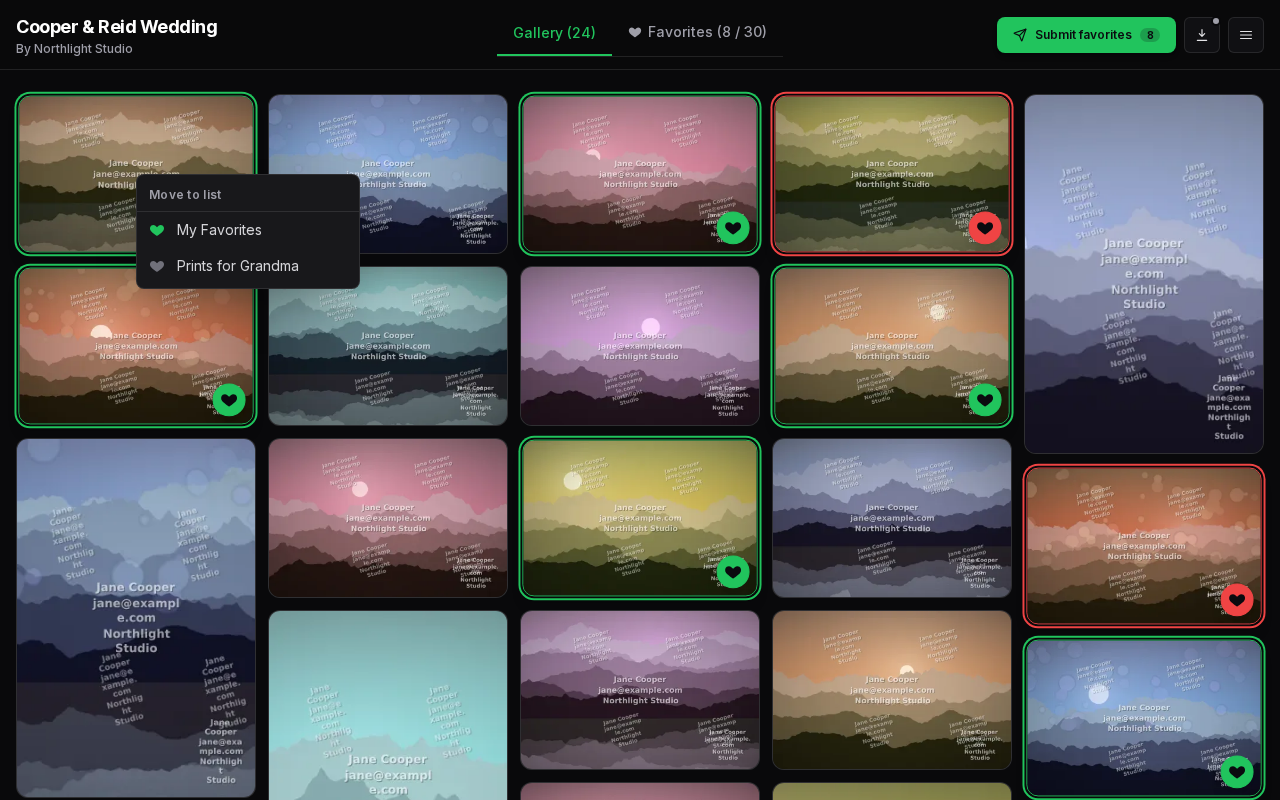
If the photo isn't one of your favourites yet, choosing a list adds it to that list. A photo can only be in one list at a time.
The Selection Limit
Your photographer may limit how many photos you can choose. When there is a limit:
- The Favorites tab shows your count against the limit, for example Favorites (28 / 30). The count includes favourites from all of your lists.
- The limit is checked against the list you are adding to. Once that list is full, the hearts on other photos fade and stop responding, and you will see: You've reached the maximum of 30 selected photos. Remove one of your current selections to choose another.
- To pick a different photo, remove one first by clicking its heart again.
Adding Notes to Photos
If your photographer allows notes, you can leave a message on any of your favourites, such as a cropping request or a retouching idea. Notes are added from the Favorites tab.
- On the Favorites tab, move your mouse over a photo and click the speech-bubble button, or open the photo fullscreen and click the speech-bubble button at the top.
- The Add/Edit Photo Note window opens. Type your note. Notes can be up to 1,000 characters, and a counter shows how many you have used.
- Click Save Note.
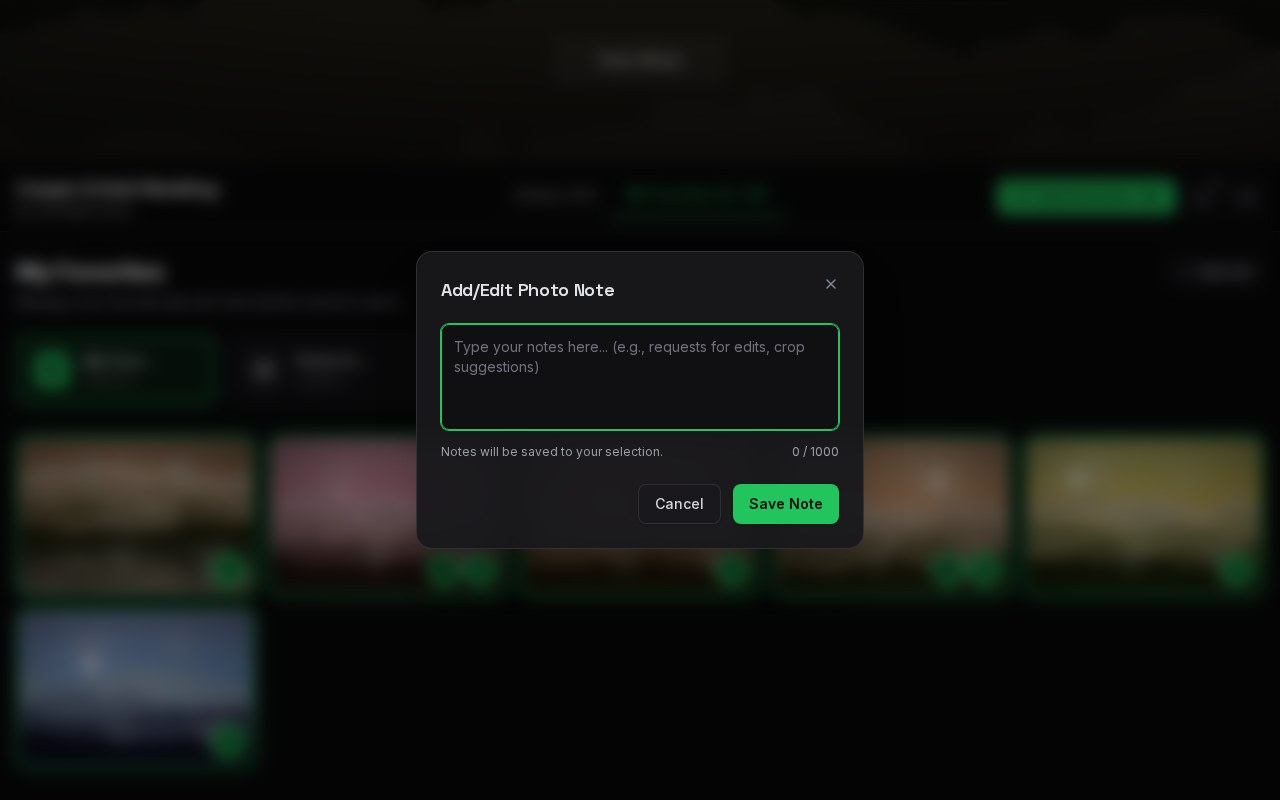
Photos with a note show a highlighted speech-bubble button, so you can find them easily. To change a note, click the button again and edit it. To remove a note, clear the text and click Save Note.
If you click Cancel after making changes, you'll be asked Discard Unsaved Changes? Click Keep Editing to go back to your note, or Discard Changes to close without saving.
Your photographer sees each note alongside your selection.
Submitting Your Selection
When you are happy with your picks, send them to your photographer:
- Check that the list you want to send is highlighted on the Favorites tab. Submit favorites sends your current list, which is My Favorites unless you have picked another.
- Click Submit favorites in the top bar. It shows how many photos you have picked. The button is greyed out until your current list has at least one photo.
- In the Submit your selection? window, click Submit selection to confirm, or Cancel to go back.
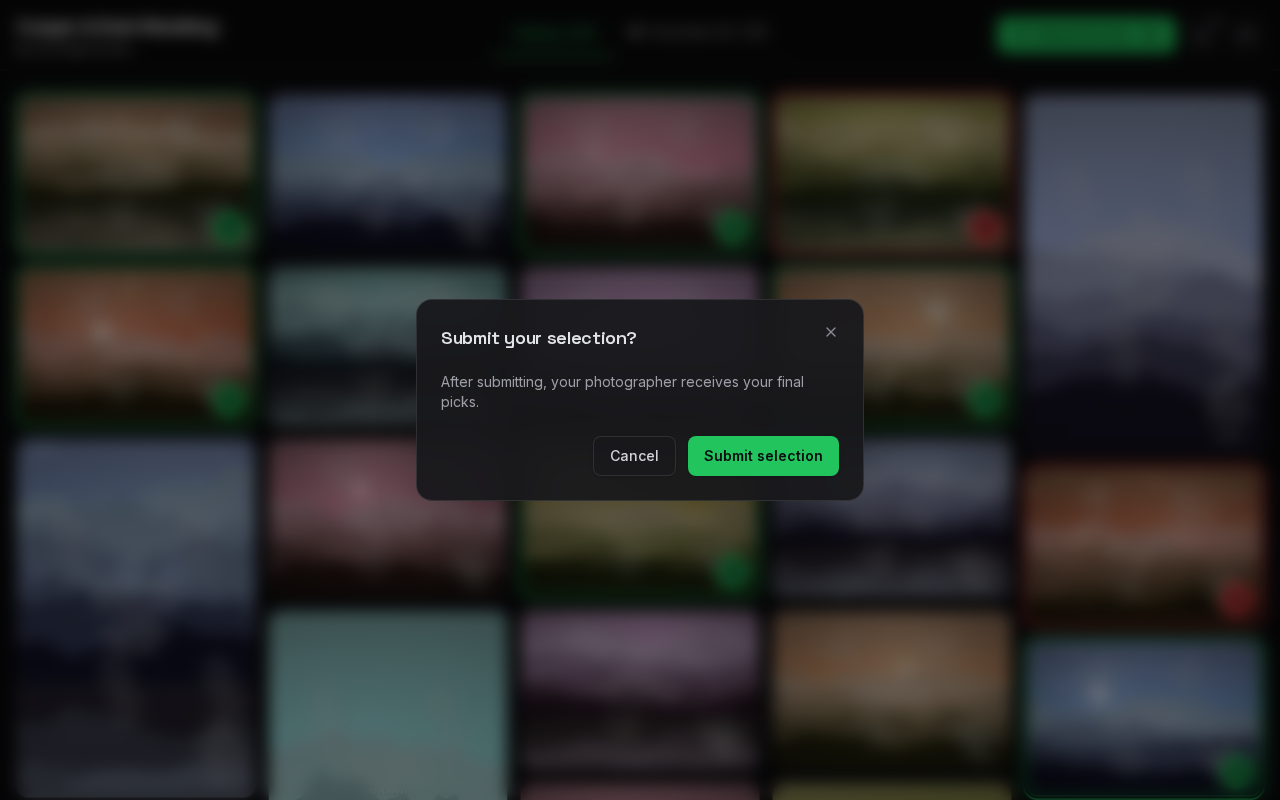
You'll see Selection submitted successfully. and your photographer is notified straight away.
After You Submit
Once My Favorites has been submitted:
- A message at the top of the gallery reads Selection submitted on [date]. This gallery is read-only.
- The hearts, note buttons, and Submit favorites button disappear, so your selection can't be changed by accident.
- You can still browse your photos and, if your photographer allows it, download them.
Some photographers set their galleries to close automatically once a selection is submitted. If yours does, the gallery is no longer available after you submit.
Changing Your Selection After Submitting
Some galleries let you keep changing your favourites after you submit. If yours does, the message at the top says you can still change them and your hearts stay visible. As soon as you add or remove a photo, the Submit favorites button comes back. Submit again so your photographer gets your updated picks.
Otherwise, you can't reopen a submitted selection yourself. If you need to add, remove, or change photos, contact your photographer and ask them to reopen your selection. Once they do, your hearts and the Submit favorites button come back, and you can make changes and submit again.
If your gallery closed when you submitted, your photographer will also need to make the gallery available again.