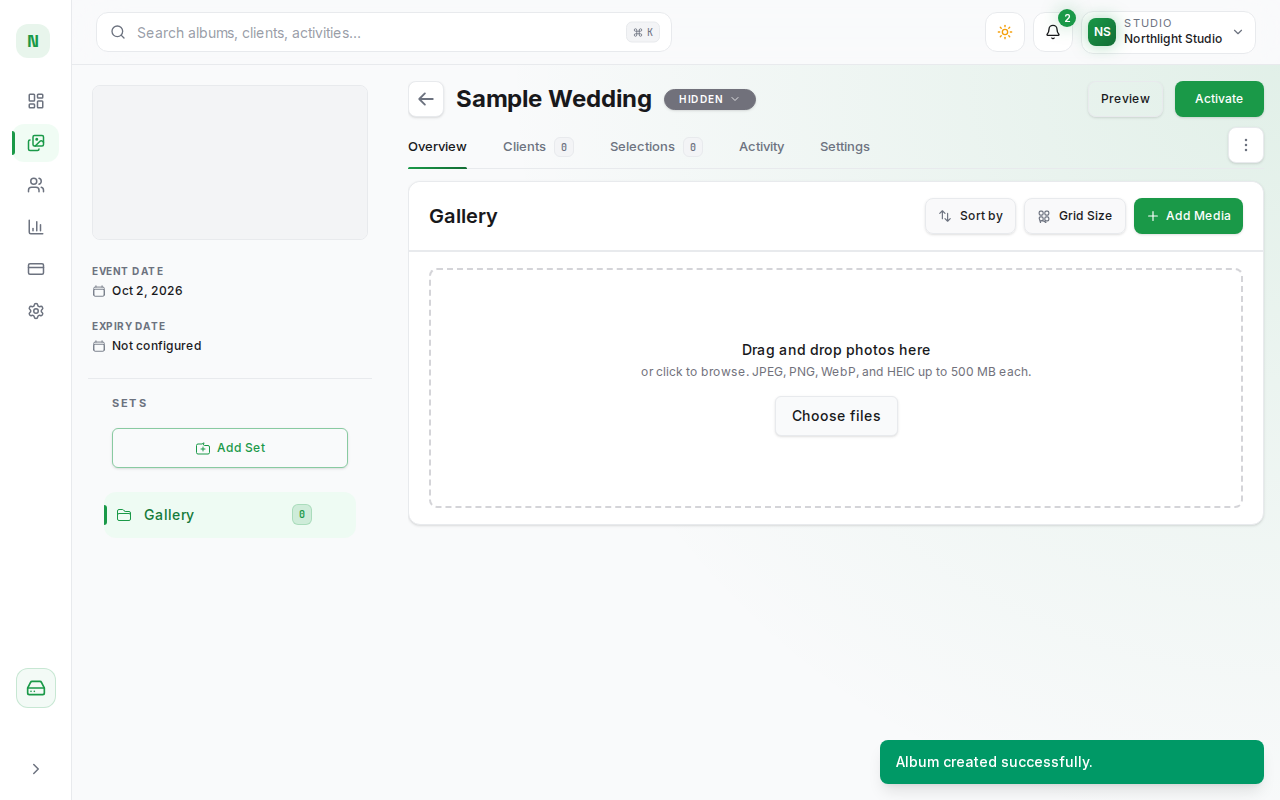
How to Create an Album
PixoProof Academy: How to Create a New Album in PixoProof (Name, Tag, Event Date & Preset)
Create a new album to upload photos and share them with clients.
Steps to create an album
- Go to Albums in your dashboard sidebar.
- Click the Create album button in the top right corner.
- When the Create Album dialog appears, enter the Album name. You can also add a Description, an Album Tag, the Event date (defaults to today), and an Album Preset to apply saved settings and photo sets.
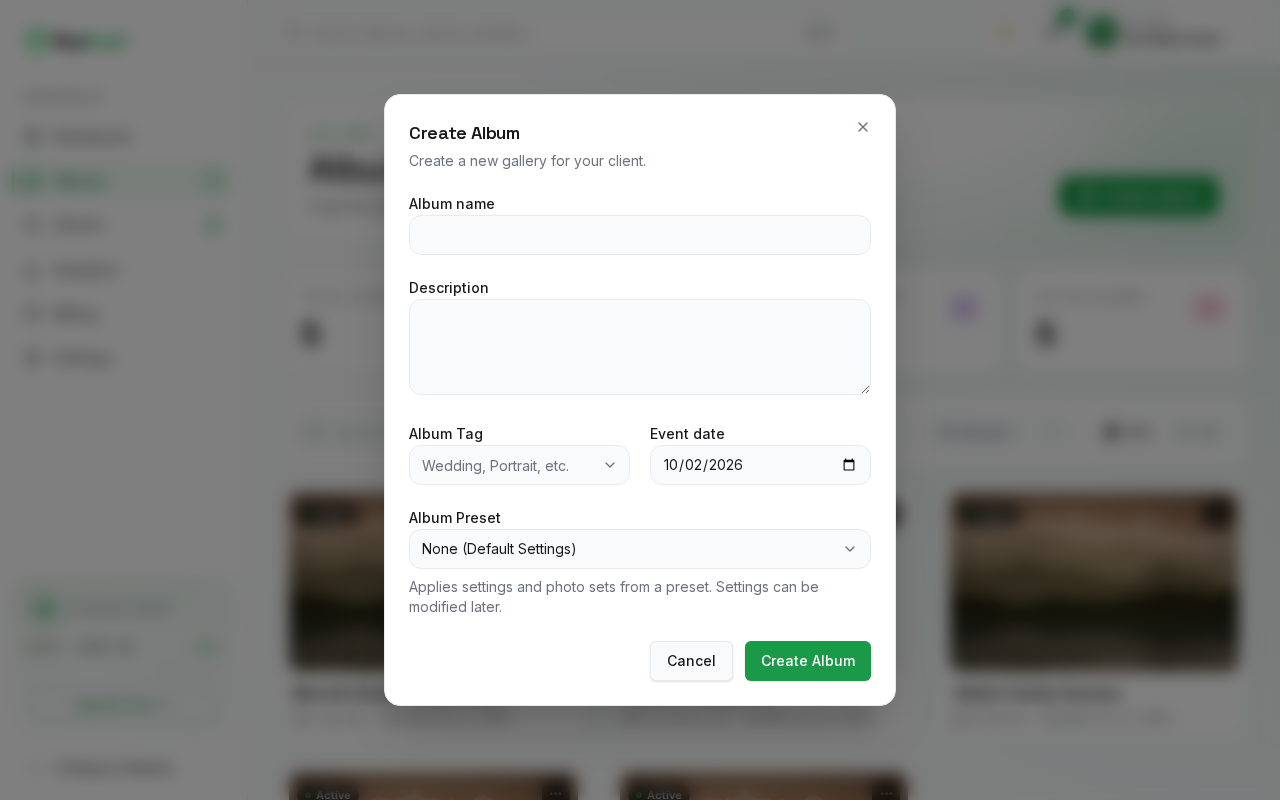
- Click the Create Album button inside the dialog to save.
Result
Your new album is created in Hidden (draft) status and you are immediately taken to the album workspace where you can upload photos. Clients cannot open it until you activate it.