Customising Your Brand Color, Logo & Watermark Logo
The Branding tab controls how your studio looks: the accent color used across PixoProof, the studio logo your clients see, and the default logo stamped onto watermarked previews.
Where to Find Branding
- In the left sidebar, click Settings.
- In the settings menu, select Branding. On a phone, tap the round menu button in the bottom-right corner to open the settings menu.
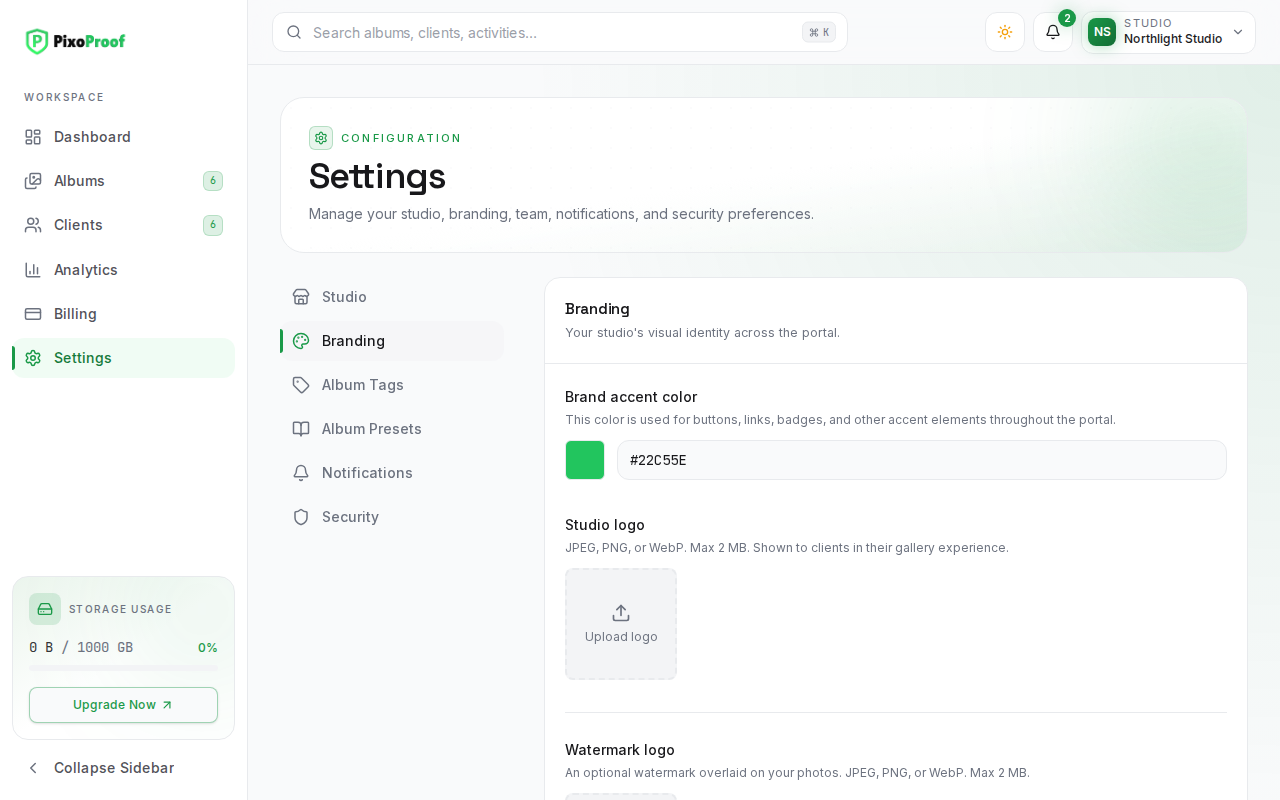
Brand Accent Color
Brand accent color is used for buttons, links, badges, and other accent elements throughout the portal. Your clients also see it on the pages where they open their gallery.
Choosing a Color
- Click the color swatch next to the hex field. A color picker opens.
- Pick a color by either:
- dragging in the color picker,
- clicking one of the Preset colors, or
- clicking one of your Recent colors (colors you picked from the swatches before, remembered in this browser).
- Or type a hex value directly into the field, for example
#2563eb.
Previewing and Saving
As soon as you choose a color, the whole app switches to it so you can preview it. A bar appears below the section reading "Previewing brand color."
- Click Save color to keep it. You will see "Brand color saved."
- Click Cancel to go back to your saved color.
If you leave the Settings page without saving, the preview is discarded.
Studio Logo
Studio logo is your business logo. It is shown to clients in their gallery experience and appears in your account menu in the top bar.
- Formats: JPEG, PNG, or WebP.
- Maximum size: 2 MB.
Uploading a Logo
- Click the Upload logo box.
- Choose an image file. When it finishes, you will see "Logo uploaded."
Replacing or Removing a Logo
- Click the pencil button on the top-right corner of the logo preview.
- Choose Upload New to pick a different file, or Remove to delete the logo.
Watermark Logo
Watermark logo is an optional logo that can be overlaid on your photos as part of the watermark. It uses the same formats and 2 MB limit as the studio logo. For the cleanest result, use a PNG with a transparent background.
How It Is Used
This is your studio's default watermark logo. It is stamped on client previews only when an album's Watermark settings have Logo image turned on:
- If the album has its own logo uploaded in its Watermark settings, the album's logo is used instead.
- Otherwise, the watermark logo from Branding is used.
- Album presets work the same way: a preset can have its own logo, or fall back to this one.
Your original high-resolution files are never changed.
Uploading, Replacing, or Removing
- Click Upload watermark and choose a file. You will see "Watermark logo uploaded."
- To change it later, click the pencil button on the preview and choose Upload New or Remove.
Troubleshooting
- "Logo must be 2 MB or smaller." — resize or compress the image and try again.
- "Logo must be a JPEG, PNG, or WebP image." — convert the file (for example, from SVG, HEIC, or GIF) to one of these formats.