Manage Photos in an Album
Once your photos are uploaded, the album's Overview tab is where you organise them. You can sort the grid, open photos full screen, work on one photo at a time, or select many photos and act on them together.
The Photo Grid
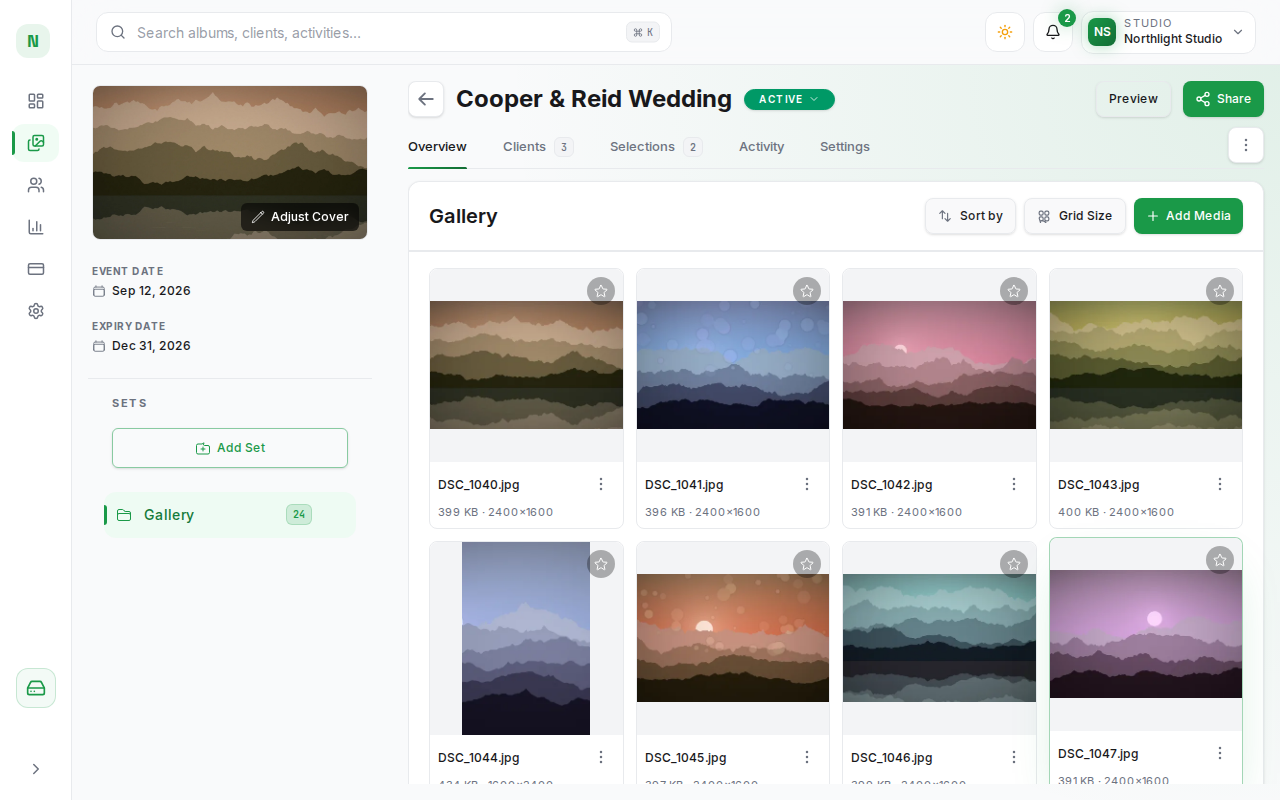
Open an album from your Albums page. The Overview tab shows the photos in the photo set that is selected in the left sidebar (see Organise an Album with Photo Sets). The set's name is shown above the grid.
Each photo tile shows:
- The photo itself (or a placeholder while it is still being processed).
- The file name, file size, and dimensions in pixels.
- A star in the top-right corner (Toggle Favorite) and an actions menu (⋮) next to the file name.
More photos load automatically as you scroll down.
Sort by
Click Sort by above the grid and choose one of:
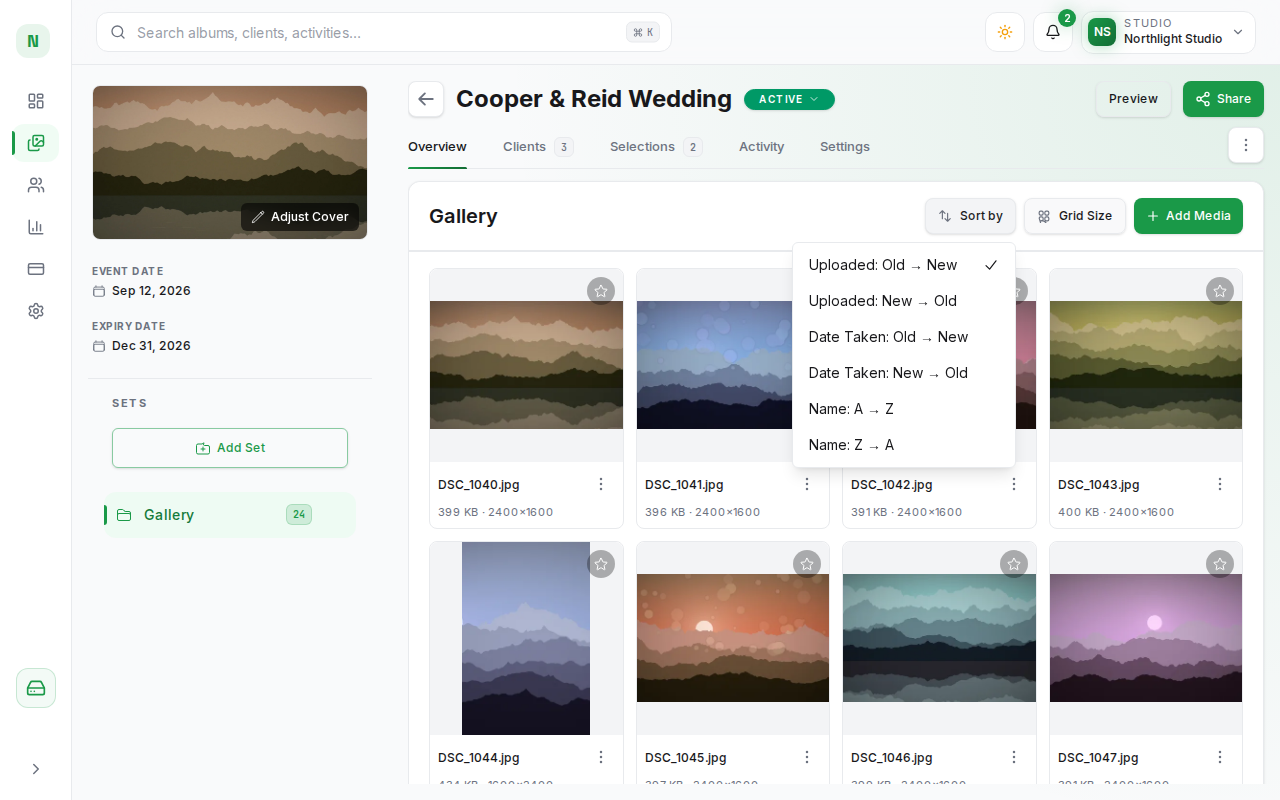
- Uploaded: Old → New (the default)
- Uploaded: New → Old
- Date Taken: Old → New
- Date Taken: New → Old
- Name: A → Z
- Name: Z → A
The sort order is saved with the album, and your clients see the photos in the same order in their gallery.
Grid Size
Click Grid Size and choose Small to fit more photos on screen or Large for bigger tiles. This choice is remembered in your browser and only affects your own view.
Photos Still Processing
After upload, PixoProof creates the thumbnails and previews for each photo. Until that finishes, the tile shows an animated placeholder instead of the image. It updates on its own when the photo is ready; you do not need to refresh the page.
If a preview cannot be shown, the tile displays Preview unavailable.
Open a Photo Full Screen
Double-click a photo, or choose Open from its ⋮ menu, to open the full-screen viewer.
In the viewer you can:
- Move between photos with the ‹ and › buttons, the left and right arrow keys, or by clicking a thumbnail in the strip at the bottom.
- See the file name, its position in the set (for example 12 of 240), file size, and dimensions at the top.
- Use the star (Toggle Favorite), the download button (Download), and the More Actions menu, which offers Copy filename, Move/Copy, Set as cover, Rename, Replace photo, and Delete.
- Close the viewer with the ✕ button or the Esc key.
Actions for a Single Photo
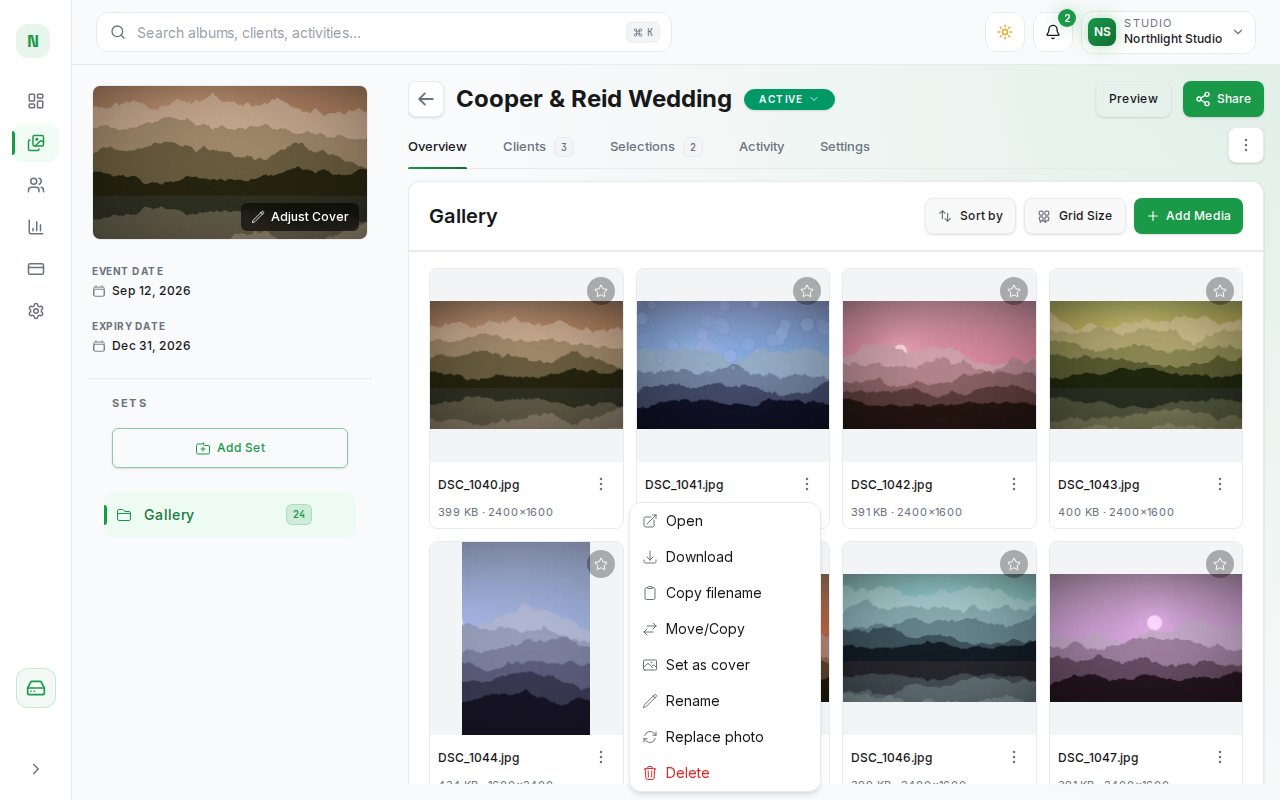
Click the ⋮ (Actions) button next to a photo's file name to see:
| Action | What it does |
|---|---|
| Open | Opens the photo in the full-screen viewer. |
| Download | Downloads the original, full-resolution file to your computer. |
| Copy filename | Copies the photo's file name to your clipboard. |
| Move/Copy | Moves the photo to another set, or copies it so it also appears in another set. |
| Set as cover | Makes this photo the album cover. |
| Rename | Changes the photo's file name. |
| Replace photo | Uploads a new file in place of this photo. |
| Delete | Permanently deletes the photo. |
Set as Cover
Set as cover uses the photo as the album's cover image, which appears in your album list, at the top of the album sidebar, and at the top of your client's gallery. Only photos that have finished processing can be used as the cover. Choosing a new cover resets the cover position for desktop and mobile, so you may want to click Adjust Cover in the album sidebar afterwards to choose which part of the photo is shown. If the album's cover was an image you uploaded with Upload Cover, setting a photo as cover replaces it.
Rename
Rename opens the Rename Photo dialog. Edit the File Name and click Save. Each file name must be unique within the album; if another photo already uses the name, the dialog shows an error.
Move or Copy to Another Set
Move/Copy opens the Move or Copy Photo dialog:
- Choose Move or Copy.
- Move takes the photo out of its current set and puts it in the target set.
- Copy adds the photo to the target set as well, so it appears in both sets. No second file is uploaded.
- Pick the Target Set.
- Click Move Photo or Copy Photo.
Replace a Photo
Replace photo lets you choose a new JPEG, PNG, or WebP file from your computer. It is uploaded in place of the existing photo, which is useful when you have re-edited an image.
Delete a Photo
Delete asks you to confirm in the Delete Photo dialog. Deleting a photo is permanent and cannot be undone.
Select Several Photos at Once
To work on many photos together:
- Click a photo tile to select it. A check mark appears in its top-left corner. Click it again to deselect it.
- Shift + click another photo to select every photo between the last one you clicked and this one.
As soon as one photo is selected, a toolbar appears at the bottom of the screen showing how many photos are selected (for example 5 Selected). From the toolbar you can:
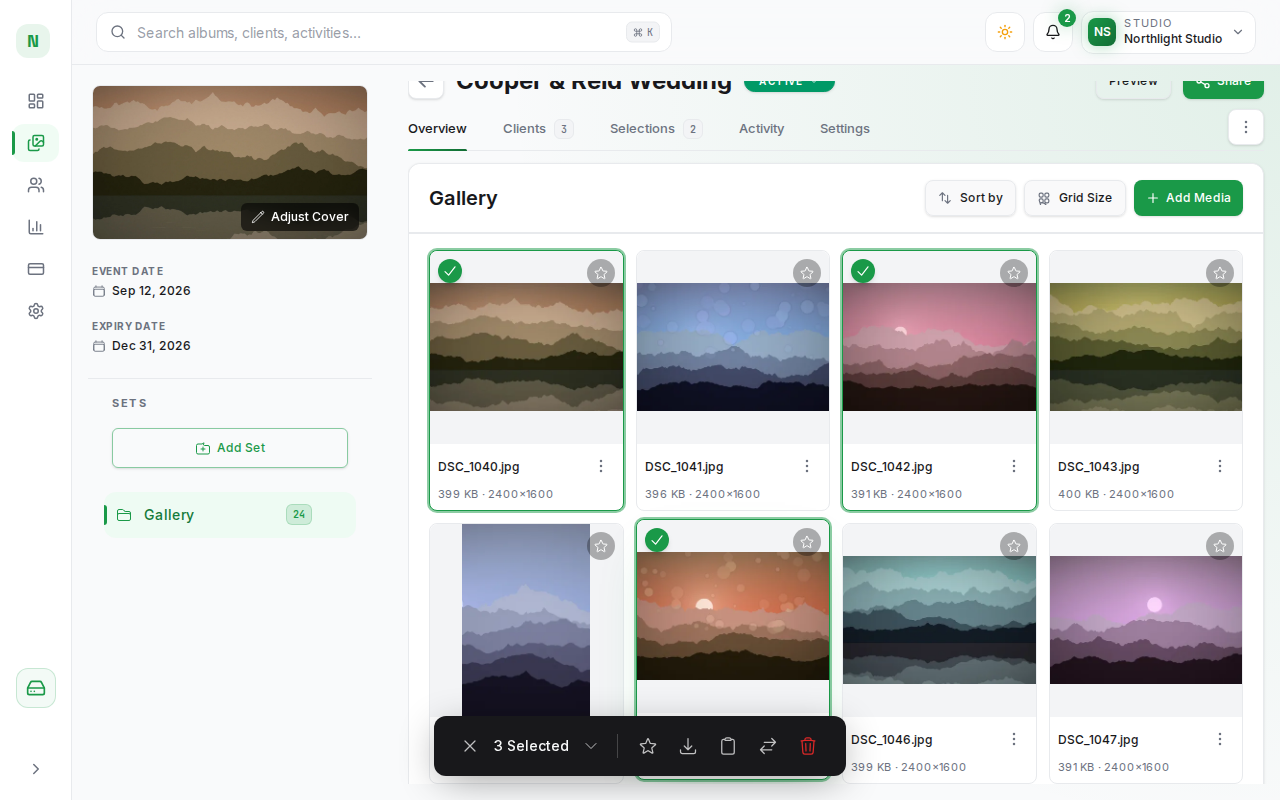
- Open the small arrow next to the count and choose Select All to select every photo loaded in the current set.
- Favorite — toggles the star on each selected photo.
- Download — downloads the original file of each selected photo, one file at a time.
- Copy file name(s) — copies the selected file names to your clipboard, one per line.
- Move / Copy — moves or copies the selected photos to another set.
- Delete — permanently deletes the selected photos after you confirm in the Delete Photos dialog.
- Clear selection (the ✕ button) — deselects everything.
Switching to a different photo set clears your selection.
The Star (Toggle Favorite)
The star on each photo is your own marker inside the workspace — for example, to flag photos you want to edit first. It is separate from the hearts your clients use to choose their favourites. To see what your clients picked, open the Selections tab (see Review Client Selections).