Organise an Album with Photo Sets
PixoProof Academy: How to Organize Photos into Sets in PixoProof (Add, Rename, Move, Delete)
Photo sets let you split one album into sections — for example Pre Wedding, Haldi, Wedding, and Reception. Your clients see each set as a separate tab in their gallery, which makes large albums much easier to browse.
The Album Sidebar
Inside an album, the sidebar on the left shows:
- The album cover, with Upload Cover and Adjust Cover buttons.
- The Event Date and Expiry Date (or Not configured if none is set).
- Under SETS, the album's photo sets, each with its number of photos.
On a phone or small screen, the sidebar is hidden; tap the menu button (Open album menu) next to the album name to open it.
Click a set to show its photos in the Overview tab. Photos you upload go into the set that is selected at the time.
Every new album starts with one set called Gallery. If you create an album from a preset that includes photo sets, the album starts with those sets instead.
Create a Photo Set
- Click Add Set in the sidebar.
- In the Create Photo Set dialog, type a name in Set Name.
- Click Create (or press Enter).
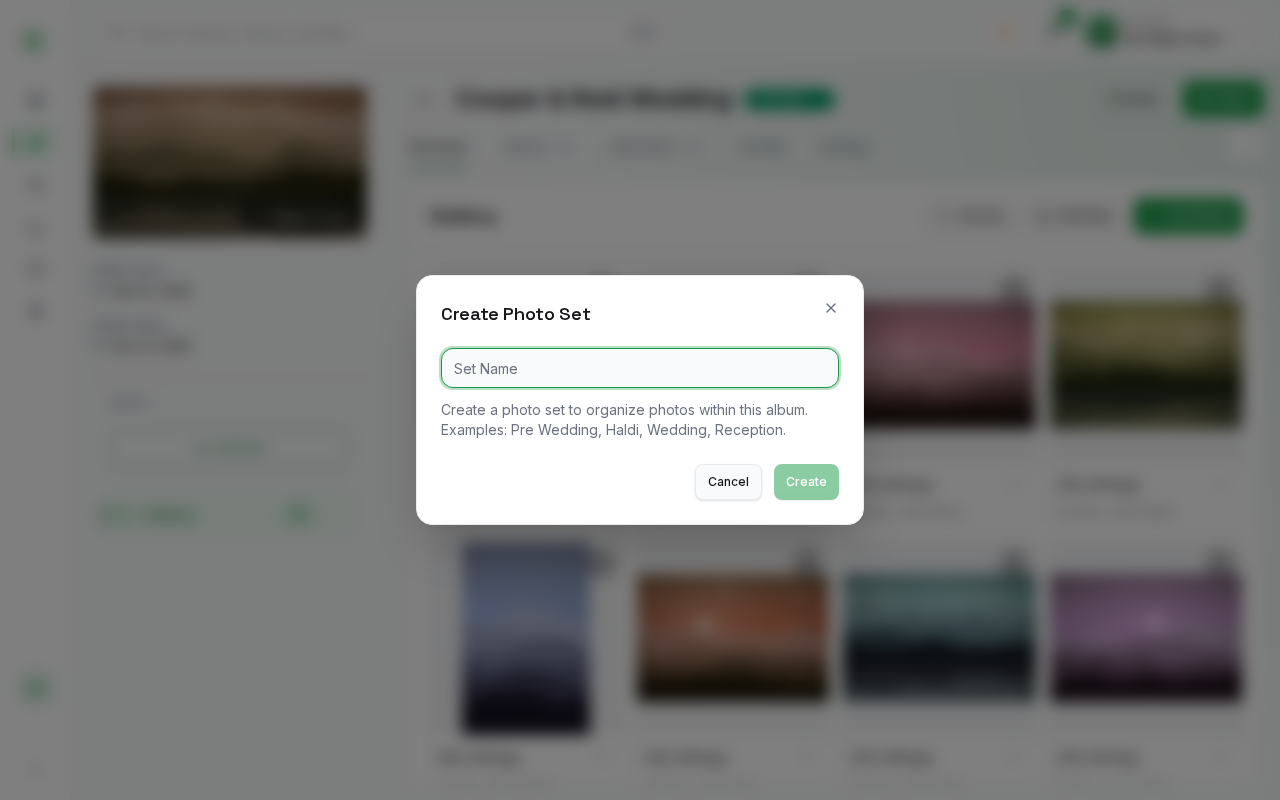
The new set is selected straight away, ready for you to upload photos to it.
Each set name must be unique within the album. If the name is already taken, the dialog shows Photo Set Name "…" has already been taken. The name All photos is also reserved.
Rename a Photo Set
- Hover over the set in the sidebar and click its ⋮ button.
- Choose Edit Set Name.
- Enter the new name in the Rename Photo Set dialog and click Save.
Delete a Photo Set
- Hover over the set and click its ⋮ button.
- Choose Delete Set.
- Confirm with Delete in the Delete Photo Set dialog.
Warning: Deleting a set deletes all photos and past activities in that set. This cannot be undone. If you want to keep the photos, move them to another set first (see Manage Photos in an Album).
An album must always have at least one photo set, so you cannot delete the last one.
Move Photos Between Sets
You can move or copy photos from one set to another from the photo grid — either one photo at a time from its ⋮ menu (Move/Copy), or several at once by selecting them and using Move / Copy in the selection toolbar. See Manage Photos in an Album for details.
Adjust the Album Cover
The cover appears in your album list and at the top of your client's gallery. You can use one of the album's photos or an image from your computer:
- To use a photo from the album, open the photo's ⋮ menu in the grid and click Set as cover.
- To use an image that is not in the album, click Upload Cover below the cover in the sidebar and choose a JPEG, PNG or WebP file (up to 50 MB). Full-resolution camera JPEGs (up to 150 megapixels) are fine; PNG and WebP files can be up to 50 megapixels. The image becomes the cover only: it is not added to the album's photos, so your clients do not see it in the gallery or downloads.
The cover has two framings, set separately:
- Desktop: the wide cover at the top of the web gallery.
- Mobile: the full-screen portrait cover of the PixoProof app. Until you set it, the app shows the desktop cover.
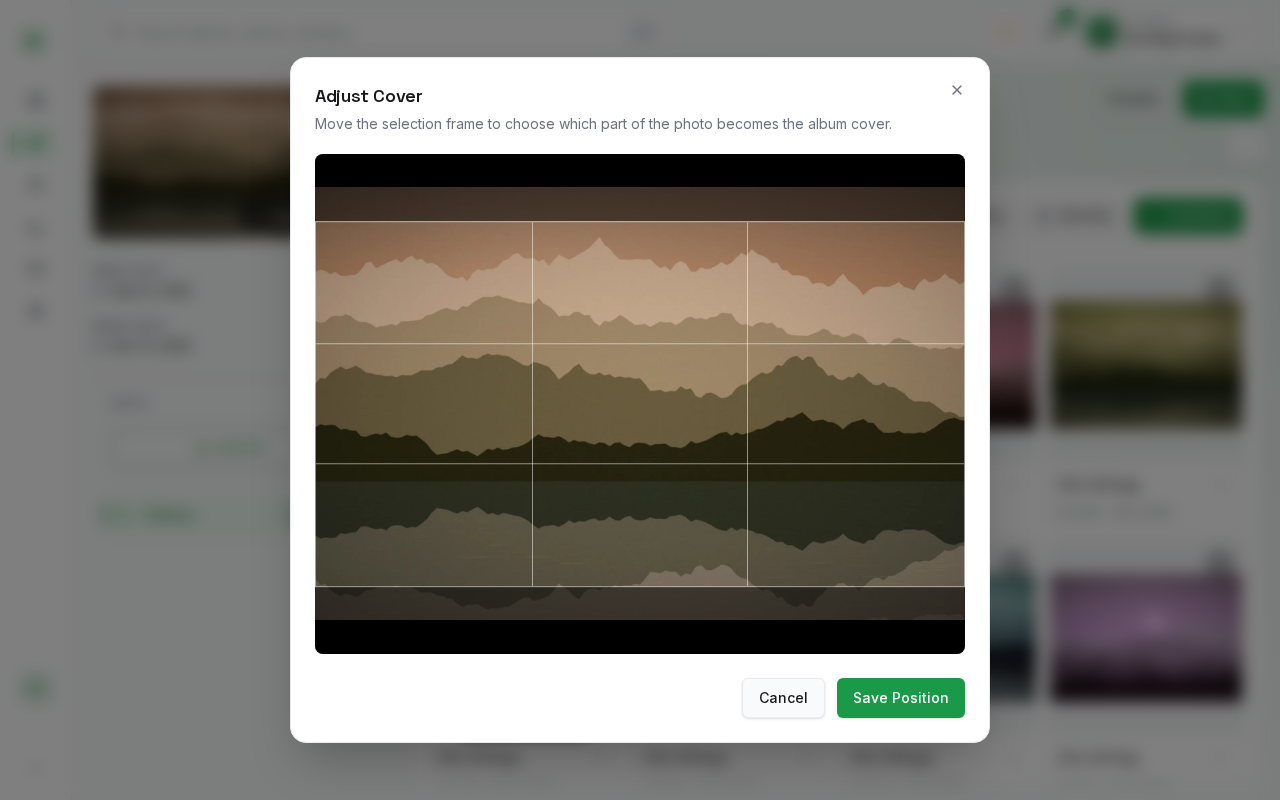
To change which part of the cover is shown:
- Click Adjust Cover below the cover in the sidebar.
- Choose Desktop or Mobile at the top of the dialog.
- Drag the selection frame to the part of the image you want to show. Use the Zoom slider (or scroll) to choose a smaller part of the image. The image is never stretched. In Mobile mode, keep the important part between the two lines: phones taller than the frame trim the shaded side strips.
- Switch to the other mode to frame it too, if you like. Each mode keeps its own frame.
- Click Save Position. Nothing is saved until you do.
What Your Clients See
In the client gallery, each set appears as a tab with its name and number of photos, in the same order as in your sidebar.