Creating Your Account and Signing In
Your PixoProof account is your studio workspace: albums, clients, billing, and settings all live under it. You can create one with your email address and a password, or with your Google account.
Creating an Account with Email
- Go to the sign-up page. From the sign-in page, click Sign Up next to "Don't have an account?".
- The page reads Create your account. Fill in:
- Studio name — your business name as clients know it. You can change it later in Settings.
- Email — the address you will sign in with. It also receives billing and system emails.
- Password — at least 8 characters. Click the eye icon to show or hide what you typed.
- Tick the box to agree to the Terms of Service and acknowledge the Privacy Policy. The Create account button stays disabled until you do.
- Click Create account.
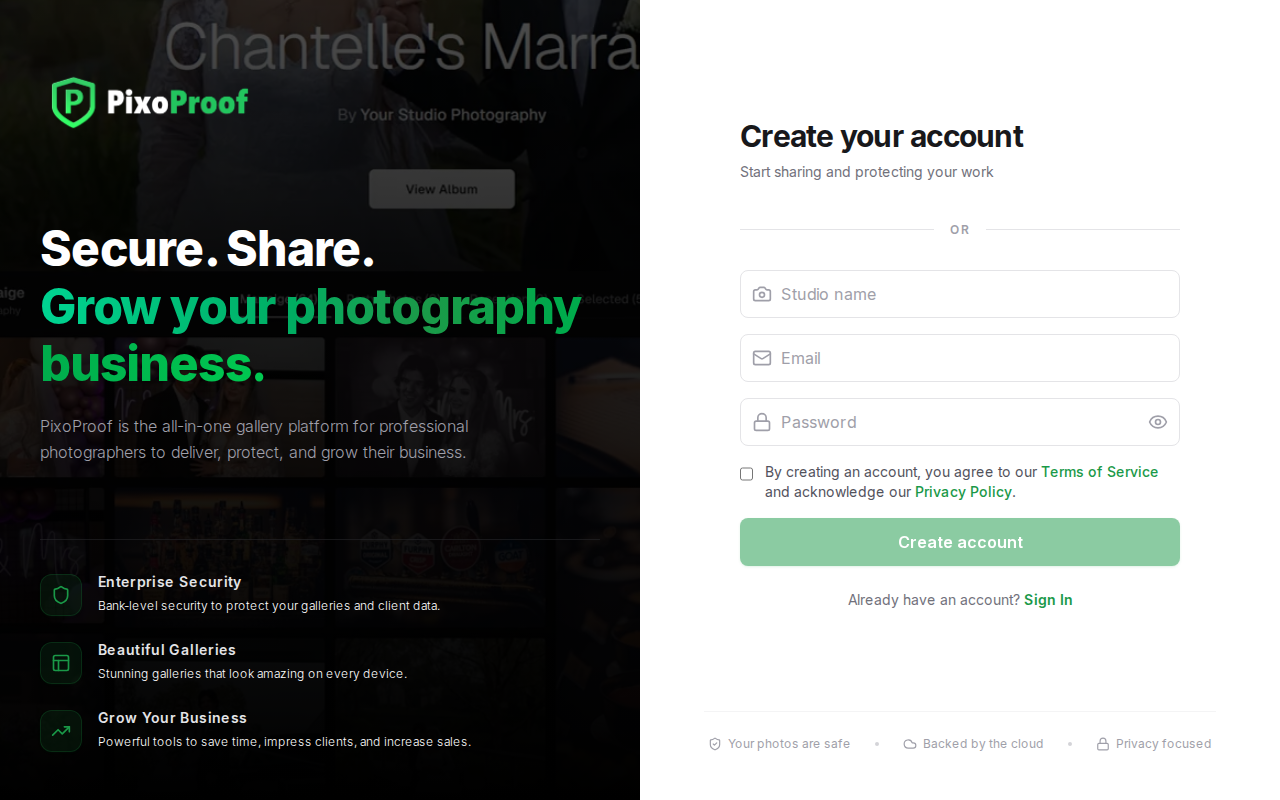
There is no separate email verification step. Your account is created on the Free plan, you are signed in straight away, and you land on your Dashboard. PixoProof also sends you a welcome email.
If the address is already registered, you will see "An account with this email already exists." Sign in instead, or reset your password if you have forgotten it.
Creating an Account with Google
- On the sign-up page, click Continue with Google and choose your Google account.
- The first time, a Terms of Service & Privacy Policy window appears. Tick the checkbox and click Accept & Continue.
Your studio name is taken from the name on your Google account (or the first part of your email address). You can change it any time under Settings → Studio.
If a PixoProof account already exists with the same email address as your Google account, Continue with Google signs you in to that existing account and links Google to it.
Signing Up Through a Referral
If another photographer sent you their referral link, a note at the top of the sign-up page shows who invited you and, when a welcome reward applies, how much account credit you will receive once you choose a paid plan. There is no code to type: the referral is applied automatically, whether you sign up with email or with Google.
Your First Visit
The first time you sign in, a Welcome to PixoProof! window confirms "Your Free Plan is Active" and lists what your plan includes.
- Click Start Using PixoProof to close it and go to your Dashboard.
- Click Explore Plans to compare paid plans.
Signing In
- Go to the sign-in page. It reads Welcome back.
- Either click Continue with Google, or enter your Email and Password and click Sign in.
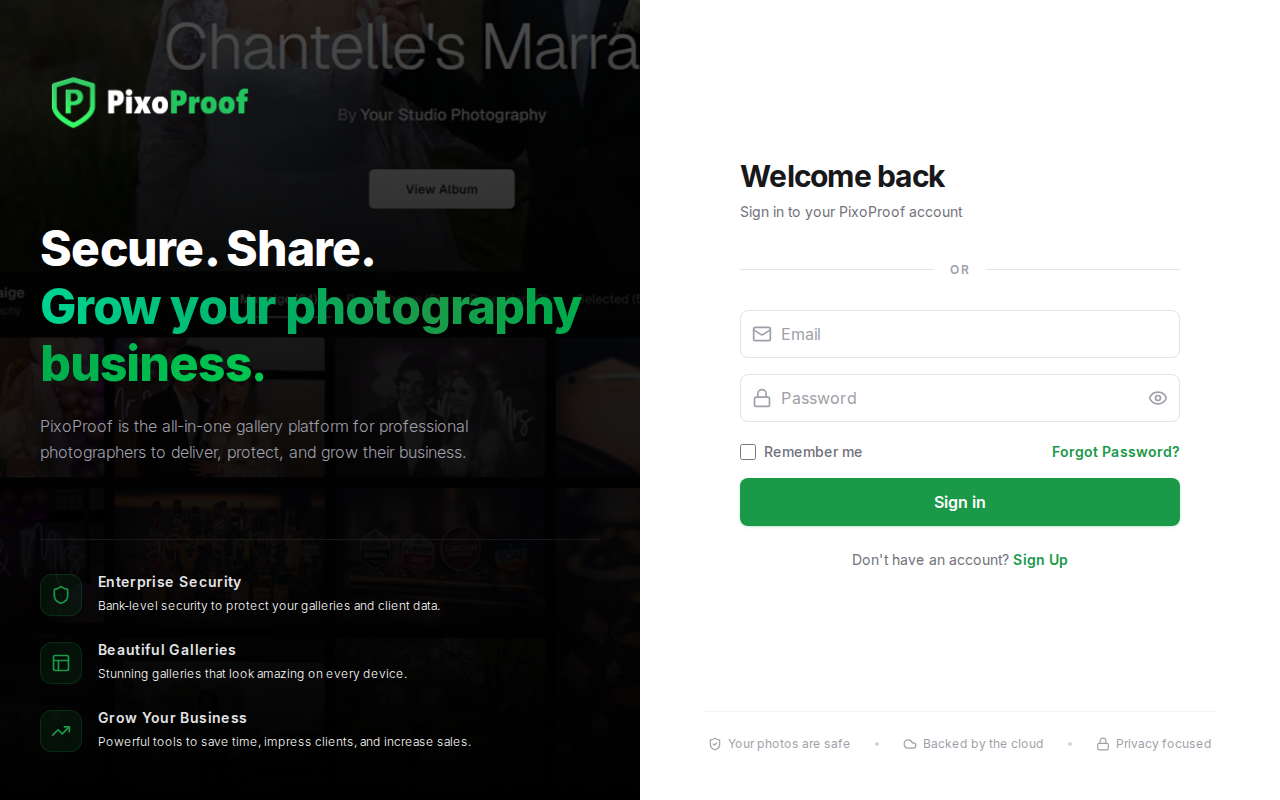
After signing in you return to the page you were trying to open, or to your Dashboard.
If the email or password is wrong, an error appears above the Sign in button. If your account has been suspended, you will see "Account is suspended." and need to contact PixoProof support.
Signed up with Google? Your account has no PixoProof password, so use Continue with Google to sign in. If you would also like to sign in with a password, use Forgot Password? to set one.
Forgot Your Password?
Click Forgot Password? on the sign-in page. See Resetting a Forgotten Password for the full steps.
Signing Out
Click your studio name or avatar in the upper-right corner and choose Sign out. To sign out other devices too, use Settings → Security (see How to Manage Passwords, Sessions & Account Security).